Home Composting
Composting at home has a major role to play in reducing the amount of material that is currently going to landfill and is a great way for you to reduce your impact on the environment.
Why compost at home?
- Easy and cheap soil improver for home gardens as a substitute for artificial fertilisers.
- Adds vital nutrients to your soil that are wasted when thrown into landfill.
- Helps retain water in your soil.
- Saves landfill space with roughly half of all household rubbish being compostable.
- Diverting this material from landfill also helps our environment by reducing greenhouse gas emissions.
- It's nature’s own way of recycling!
There are many different composting systems that you can be use at home! Below are a few examples of the systems.
Composting types
Compost heap/bin
How to use:
- Choose a shady spot and position so the bottom of the bin is in direct contact with the soil.
- In a compost bin, prevent pests by either sitting the bin on wire aviary mesh or bury the base 10cm deep into the soil.
- Add a layer of coarse, dry material, like sticks, to encourage air circulation and drainage.
- Add a layer of green material, then a layer of brown material. The general rule of thumb is add two parts brown material to one part green material*.
- Continue until bin is full.
- After between two and six months, the compost will be ready to go!
* Brown (Carbon rich) material is moistened cardboard, egg containers, shredded paper (not glossy paper), straw, hay, sugarcane mulch, dry leaves etc. Green (Nitrogen-rich) material is garden clippings, grass clippings, vegie scraps, green leaves etc. Many sources will say you can't compost onions, citrus and tea leaves but this is a myth. Avoid meat, wheat and dairy products as these are more likely to attract vermin.
Handy tips
- Once a week – Aerate the pile with a compost crank or garden fork.
- Every second week – Add a handful of poultry manure or blood and bone, sprinkled onto a dry layer to provide a boost of nitrogen. A little rock dust will get the worms working and provide some micronutrients.
- Once a month – Add a handful of lime. This combats the acidity created by the decomposing scraps and the worms love it.
- Weed tea – Place your weeds into an old pillowcase, hessian bag, or wrap them in shade cloth. Dump this weed ‘tea bag’ into a big bucket of water, cover, and let it sit for a couple of days, stirring when you remember. Placing weeds into a bag stops the seeds being spread, and the brew from clogging your watering-can rose. Once your weed tea has steeped, use the tea diluted in a ratio of 1:3 in a watering can pour it on your compost heap to give it a kick along!
Compost tumbler
A compost tumbler is similar to a compost bin but sits off the ground and is fully enclosed. They generally have a smaller capacity than compost bins, but the composting process is made easier by the tumbler. Instead of needing a pitch fork or compost crank, the whole bin can be tumbled or turned 3-4 times to do the same job.
Trench Composting
If you have an established garden bed (especially vegetable garden) you can use a trench composting system. This is a great method to kick-start a new garden, particularly if the soil has been compacted - such as an old lawn. You can also do this in between rows of plants, alternating plants and compost each season.
How to use:
- Dig a trench about no more than 350mm deep; in a heavy clay soil make that 250mm. It can be as wide as you like, but two shovel widths is a good start. Retain the excavated soil.
- Layer scraps and garden waste in the base of the trench, to a depth of about 200mm. Alternate dry leaves with wet scraps, the more diverse the ingredients the better.
- To super charge your trench, sprinkle with a hand full each of lime and of rock dust per couple of metres.
- Back fill with the retained soil.
- The scraps will decompose over time, depending on the amount of oxygen and moisture below.
- To improve the soil above the scraps, sow a green manure crop of broad beans
- You can dig them back in as a green manure when they are shin high, or let them produce their delicious, nutritious seeds.
Bokashi bin
Bokashi is anaerobic composting that you can do both indoors and outdoors. It's a great way to quickly turn your kitchen scraps into rich liquid and semi-solid fertiliser.
A Bokashi composting system uses enzymes, micro-organisms and anaerobic bacteria to ferment organic materials inside the bin. Fermentation metabolises the carbohydrates in scraps into lactic acid and breaks down cell walls for faster decomposition. After about 3 weeks, you have rich liquid fertiliser (Bokashi juice!) and readily decomposable fermented semi-solids.
Things to add:
- Fruit and vegetables
- Cooked food leftovers,
- Meat without large bones (cooked or uncooked),
- Small bones
- Non-plastic tea bags,
- Old flowers,
- Tissues,
- Almost any other organic waste that comes from your kitchen.
Things to avoid:
- Large amounts of liquids,
- Large bones,
- Garden waste,
- Pet poo entirely.
How to use:
- Store your kitchen scraps in a kitchen caddy.
- Once full empty the scraps into a bokashi bin in layers of 3-5 cm followed by a handful of bokashi bran/grain or 4-5 sprays of enzyme accelerator.
- Smash the scraps down as much as possible to remove any air out of the scraps. A potato masher is ideal for this job.
- Make sure the lid is on and the bin is properly sealed.
- Drain the liquid through the tap on a weekly basis at least. One cup of bokashi juice with 10 litres of water is a great tea to feed your plants.
- Bury fermented scraps in at least 10cm of soil or add them to your compost bin. Don’t forget to add brown material if you put your fermented scraps into a compost bin. It will then break down into the soil in about 10 days. .
- Smell – The bokashi bin should have a fruity smell to it slightly similar to apple cider vinegar. If too much air gets in the system the scraps may rot and give off an unpleasant smell. If this happens bury the mix in 10cms of soil and wash the bin thoroughly and start again.
- Mould – White mould is normal and a by-product of good bacteria breeding. If the mould is green or black the system is rotting instead of fermenting. If this happens bury the mix in 10cms of soil and wash the bin thoroughly and start again.
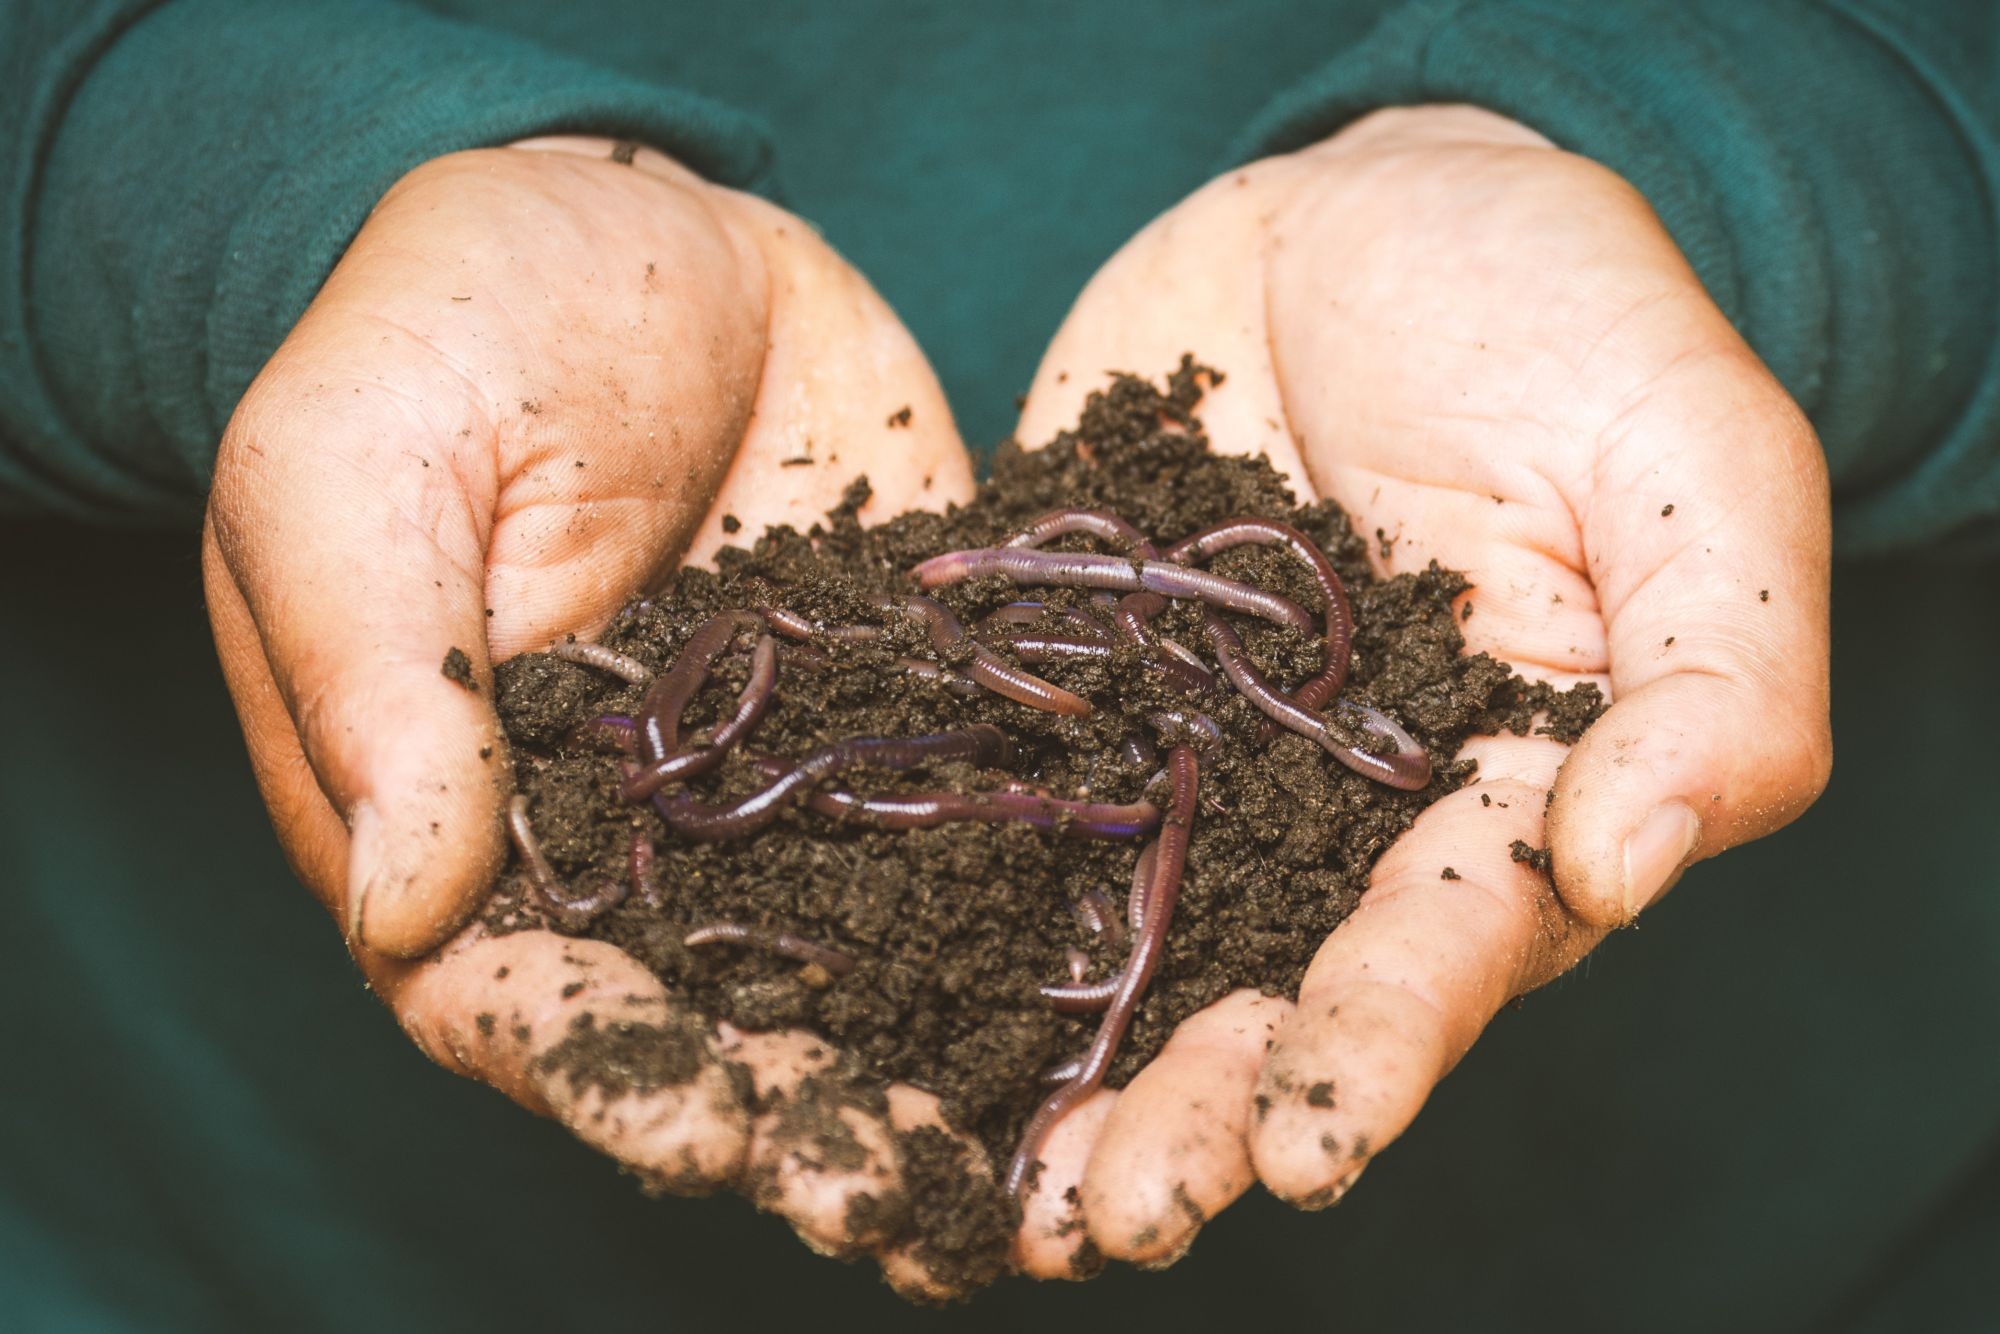
Worm farm
Worm farms are great for small garden areas and great for children to learn about food waste. The worms eat the microorganisms that eat your food scraps. They require a very sheltered location and can’t process as much material as a compost bin.
Things to add:
- Fruit and vegetable scraps,
- Eggshells
- Tea bags
- Coffee grounds
- Carbohydrates
- Old paper towels
- Hair
- Cooked food.
Things to avoid:
- Citrus fruits
- Onion
- Garlic
- Chilli
- Meat and bones
- Fish
- Tofu
- Beans
- Dairy
- Garden scraps like leaves and grass
How to use:
- Choose a location for your worm farm that is sheltered from the sun, wind and rain and set up the worm farm.
- Line the top tray with 2-3 sheets of newspaper. Add some coconut peat, shredded paper or pure compost that has been soaked to provide bedding for the worms.
- Add the worms and cover them with a worm blanket, clean old cloth, damp newspaper or hessian sack.
- After a week add food. Remember to place the “blanket” back on top to protect the worms.
- As the tray starts to fill add a new tray to the farm. Ensure the new tray touches the food in the old tray so the worms can reach it.
- As the new tray starts to fill, start to rotate the trays. This can go on for 1-3 years before harvesting.
- Regularly collect the liquid. Dilute it with water in a water can and feed your plants. The liquid can be stored in glass bottles or plastic containers.
- Harvest the castings by placing the fuller tray on top, remove the lid and leave in the sun for 20 minutes. Once the worms have burrowed further into the castings, slowly remove the top layers of castings allowing the worms to keep burrowing down. Try to avoid taking too many worms.
- Use the worm castings straight away before they dry out.
- How to use worm castings – Mix the castings with soil at a ratio of 1 part soil and 1 part castings and spread around plants. Potting mix can also be made by mixing 1 part castings with 4 parts soil, compost, sand or vermiculite.
- Issues – There are a few indications that your worm farm may need a helping hand. They are:
- Vinegar flies – This is an indication of food rotting before they are eating it. Reduce the food amount and chop into smaller pieces. Make sure the worm farm is covered with a worm blanket.
- Tangy smells – This is an indication of acidity and need you need to treat it like vinegar flies. Also sprinkle on a tablespoon of ash, dolomite or lime.
- Boggy smells – A boggy smell means a blocked drain or drowned worms. Check the drain and shelter from rain.
- Slow worms – give the worms time to breed. Don’t feed them as much food and remove any food that has fluffy mould. More worms can beaded if needed.
- Ants or cockroaches – This is an indication that the worm farm is too dry. Pour water over the farm and give it a gentle stir.
- Maggots – This means meat or dairy was most likely added to the farm. Place a piece of bread soaked in milk inside the worm farm overnight. The maggots will be attracted to it and you can pull it out with them attached the next day.
- Mice – Stop feeding the worms for a week and add wet newspaper. Also check that there are no holes that mice can get.